"What are you upto madam?" asked the shopkeeper of the mom's favorite dairy products shop, after he noticed me inquiring, pressing hundredth time the block of paneer he had handed to me ten minutes ago. Almost, embarrassed by his tone, I blurted out, I was just curious how they got that paneer to be so soft and spongy. Not expecting an answer, after all his business relied on it, I looked up at M, who was clearly annoyed he was getting late, the shopkeeper like a true Indian salesman said "You have to buy milk from us for that". Mom has warned me not to buy milk from him already "Way to expensive and its as thin as water" she complained.
Not the one to give up so easy, I tried one more time -
Bhai (brother) do you use lime to split it?
Yes, madam.
How much do you add bhai?
Till the milk splits, little at a time
Oh good, I do it that way, what's in your milk you say?
Fat!
With that, and looking at the number of cusomters he had to attend to, I left it at that.
Though I couldn't get anything too useful from him, he actually helped me find what I was doing right. For years, friends have asked me how I make my paneer. My answer is simple, boil the milk, split it with acid, remove the whey, put weight on it and that's it. Quite a few friends where not able to recreate the results.
So today I'm sharing my technique in detail for making paneer and a few tips I hope will help you get through paneer making. Because trust me, once you make your own, you will never go back to store bought.
Paneer is a soft fresh Indian cottage cheese made by simply using acid and no rennet. From sweets, to snacks, curries and even flat breads, one or the other form of this cheese is used in North Indian cuisine extensively. Paneer can also be used in kebabs and tikka as an addictive vegetarian option. No one is going to miss the meat!
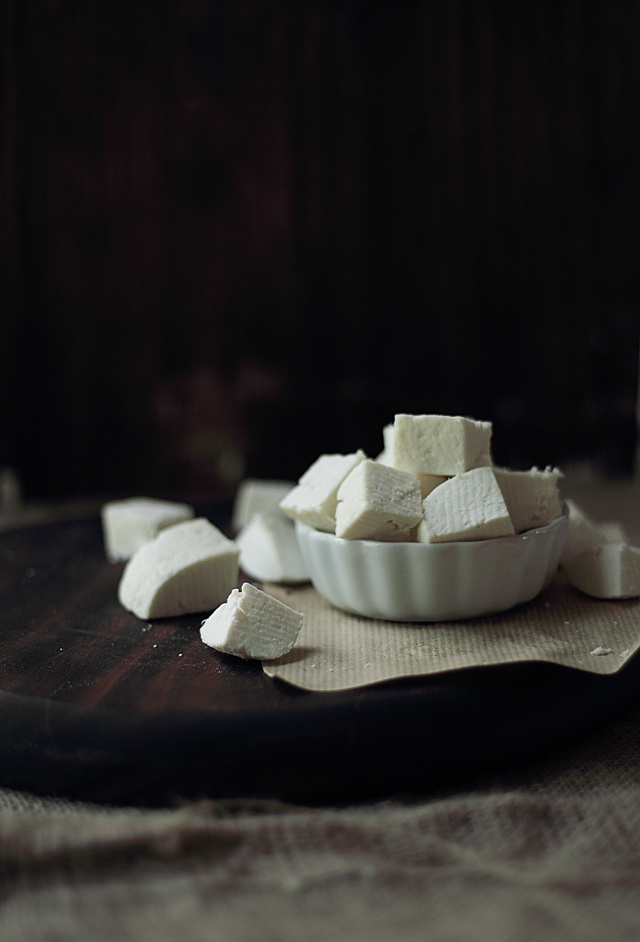
How to make Paneer
Serves 2, makes about a cup or slightly more
Serves 2, makes about a cup or slightly more
Ingredients
2 liter Fresh whole milk
2-3 tbsp lime/lemon juice
Things you will need
2 heavy deep bottom pan
Cheesecloth
Wooden spoon to stir
Method
Heat the milk in the deep and heavy bottom pan at medium heat. Let it come to a gentle boil and stay there for a minute. Make sure the milk is not vigorously boiling. If it does, reduce the heat and bring the milk back to gentle boil.
Add one tablespoon of juice and quickly stir it in. At this point, you will start to see small curdles in the milk but no whey. Add another tablespoon of juice and again stir it in. The curdles will increase and you will slowly begin to see the greenish whey. Add the last tablespoon of juice and with this, you should be able to see a clear greenish whey separating from the curdles, switch of the gas immediately at this point. Depending on the acidity of the juice, the amount of juice you require may differ. Start with one tablespoon at a time till you achieve the results.
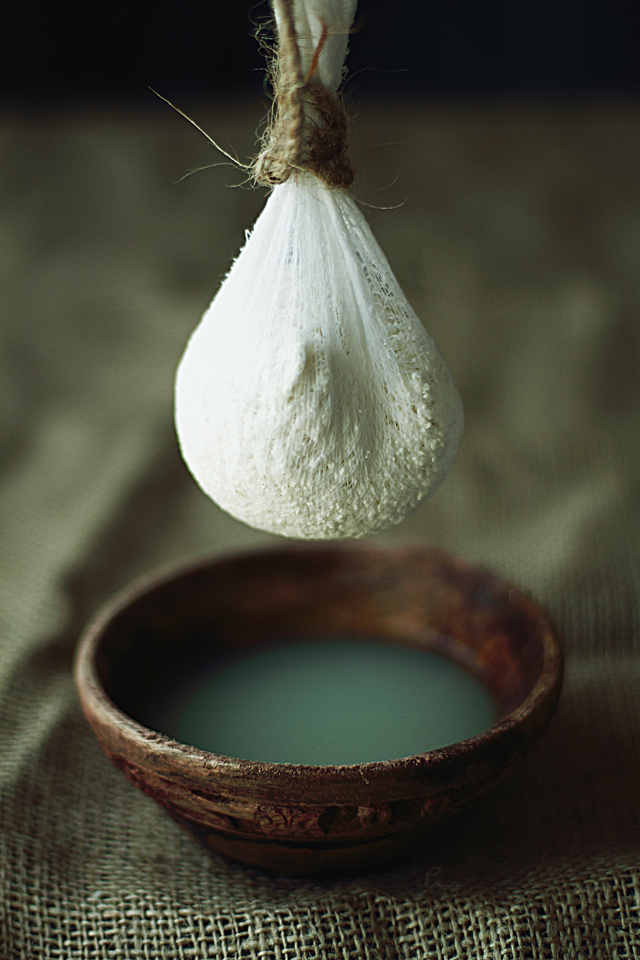
Line another pan with double layered cheesecloth. Make sure the cheesecloth is long enough to be bundled up and hanged later. Run the whey through the cloth which will collect all the curdles. Wash the curdles, by running it through cold water to remove the lemon taste.
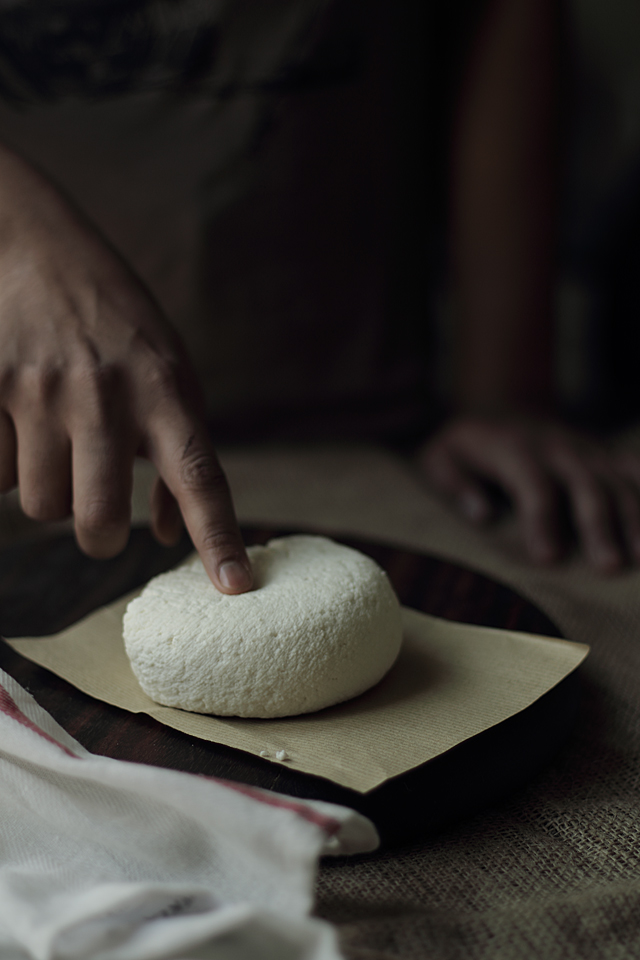
Tie up the cheesecloth in a tight bundle and let it drain for about 30 minutes. Then place weight on the cheese to get it to be flatter and drain out extra moisture. I generally place it between two cutting board and add heavy pot on top for 1-2 hour.You don't want to add too much weight for too long as it can drain out way too much moisture from the cheese making it hard and crumbly.
Wrap it and store it in the fridge for upto a week. But I certainly prefer to use it as early as possible.
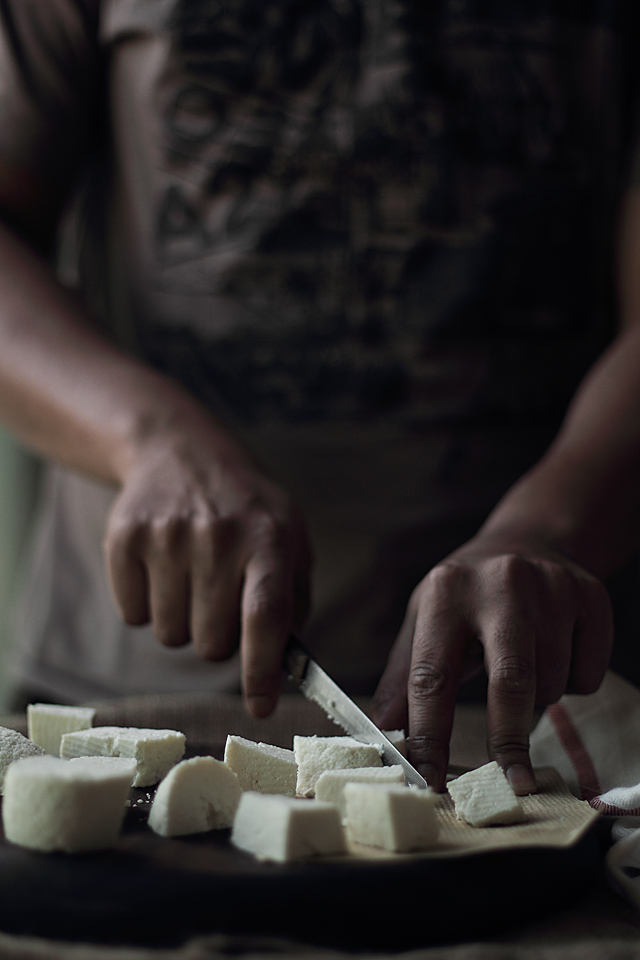
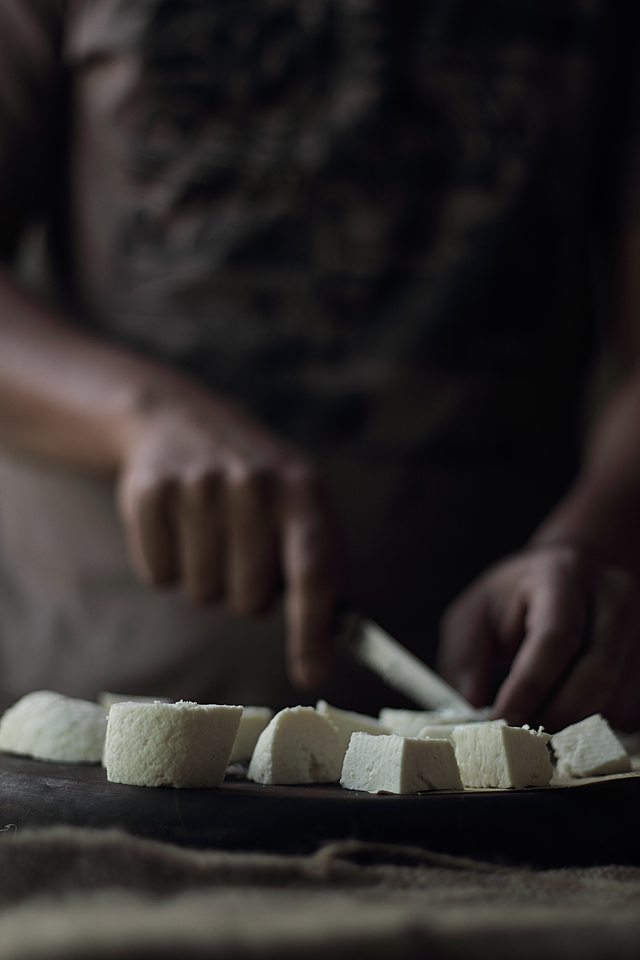
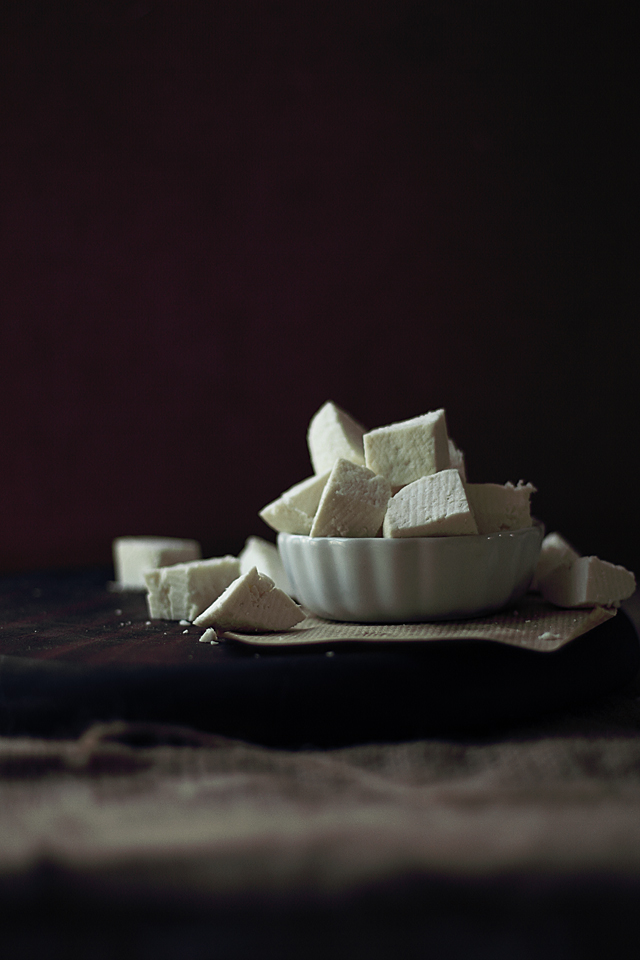
For using in curries, cut them into similar size cubes. You might want to trim out those irregular edges to get even cubes. Keep those irregular edges and crumbles, I have a recipe for that coming up!
Tip: Use the leftover whey for pancakes, making roti or other bread, add to smoothies, thin out yogurt with the whey for yogurt drinks, or use it to water the plants.
I always make Paneer at home and you are right once you eat homemade Paneer you never want to buy it!
ReplyDeleteLove your clear instructions and of course beautiful photos!
I have been making paneer for more than 10 years now and this post re-confirmed my evident belief :) Nice post there!
ReplyDeleteI am also thinking, the recent crumbliness of my paneer was because of the (too much)weight I put, in a hurry. Thanks for that tip.
- Soumya
plz can u tell me how much milk is required to make 1kg paneer
DeleteI read that this makes about 8oz.
Delete1 kg = 35.2 oz
35.2 oz / 8 oz = 4.4
You will need 4.4 of these recipes, or 8.8 liters of milk.
Great tutorial Kulsum. The photographs are just as great as well. Loved every bit of the post :)
ReplyDeletemy colleague at work was saying he finds making paneer very cumbersome, i shall send him your link immediately. K, your photography is simply gorgeous and i am in love with it. x s
ReplyDeleteloving the pics..excellent lighting..sigh!
ReplyDeleteI wish i would have the enthusiasm to make my own paneer :)
Exactly what I was thinking AOP! Gorgeous photos! Forget about the Paneer..the photos are almost as good to eat!
DeleteI can;t believe it can be that simple.I mean,time consuming yes but not as hard as I would have thought! Great post and tutorial!
ReplyDeletei prefer homemade paneer to store bought ones. love the pic of the cheesecloth. useful post !
ReplyDeleteYou put it so elegantly! Baeutiful.
ReplyDeleteAnd I liked the way you used the ubiquitous Shaharanpur wooden bowl. 'That' looks amazing!:-)
I really have to make that speciality. Thanks for sharing! Lovely moody clicks.
ReplyDeleteCheers,
Rosa
Thanks so much for this tutorial. I asked an indian friend of mine why restaurants often use tofu instead of paneer and she said becuase it was so hard to make. But i knew thar couldn't be true. It's just like making ricotta with out the pressing.
ReplyDeleteI love indian food and just recently have gotten up the nerve to start making it myself. So your blog and pictures are quiet inspiring. Thanks!
Beautiful clicks and lovely tutorial, homemade is always best
ReplyDeleteLoooove this! I want to DRINK it.
ReplyDeleteThis comment has been removed by the author.
ReplyDeleteWill definately try to make this at home one of these day. Everyone I know cooks with Nanak (Frozen panner) here and I don't think that stuff is good for you.
ReplyDeleteGreat pictures! Love paneer.
ReplyDeleteHomemade paneer is kind of like homemade pasta isn't it? Once you have tasted the real deal, that's it! Beautiful photos and play of light!
ReplyDeleteLovely photos! I tried making paneer too, and really I think it's just nice to make own cheese! :)
ReplyDeleteI'm not a fan of paneer. But those pictures, sigh. Girl, it's awesome!! Truly awesome. I'm especially smitten with that second shot, ha.
ReplyDeleteOh the thought of homemade paneer is wonderful...such beautiful photos :)
ReplyDeleteThanks Kulsum. I am recently able to purchase paneer but it is not like what I have had in restaurants or what you have pictured. Instead it is very firm and solid - even more so than extra firm tofu. I am anxious to make this (after I have used the block I bought). I have many uses for the whey.
ReplyDeleteAbout how much paneer does this recipe make?
ReplyDeleteLove love LOVE the dark tones of these photos! And also adore homemade paneer. As I told Prerna while I was in Cali, once I went homemade I never intend to go back.
ReplyDeleteI've got to try my hand at making this, now I'm just waiting for you to tell me what to put it in. ;-)
ReplyDeleteI like to cut mine into finger size pieces, roll it in buttermilk, then in neurtitional yeast, and fry in butter. Make gravy out of leftover pan oil. and have it with mashed potatoes. LOVE< LOVE> LOVE
DeleteI've tried this at home...learned it from my north indian roommate in college...only issue was that it never set into perfect cubes like yours...gonna reread how you did it closely and learn the magic!
ReplyDeleteLove paneer and never bothered to make it at home till I saw this.Love your pictures and the dark wood cutting board..
ReplyDeleteBeautiful photos Kulsum and loving the hand model too. I have a habit of asking those kind of questions at restaurants- never quite get a good answer though!
ReplyDelete@Kelly It would make about a cup. Will add that to that post.
ReplyDeleteThanks everyone!
you're right! it does sound easy to make. i bought some cheesecloth back from the States so may give this a try. Thanks!
ReplyDeleteThanks so much for sharing! I tried ricotta and cream cheese recently, and now regularly keep a stock of cheesecloth...might have to put some of that to use making paneer!
ReplyDeleteYour photographs are stunning, and I've always wanted to make paneer. What a lovely blog!
ReplyDeletethe photos are so lovely. I use white vinegar because everytime I used lemon juice, the paneer gave out a lemon taste but vinegar didnt. Does your paneer taste free of that lemony essence?
ReplyDelete@Sliceofmylyfe Thank you :-) If you thoroughly wash the paneer before draining and weighting it down it doesn't taste of lemon at all.
ReplyDeleteThank you for this great tutorial! I have wanted to make curries with paneer but haven't been able to find paneer at the store. I never thought to make it myself! Perfect!
ReplyDeleteI love paneer and thank you so much for sharing your paneer making tips Kulsum. And those photos......WOW!!!
ReplyDeleteBeautiful post!!
ReplyDeleteI really, really want to try making paneer at home.
Love the stuff!
Beautiful ..Kulsum...
ReplyDeleteI have had more unsuccessful attempts than successful one.s.... This is giving me want to try one last time...
Beautiful photos and delicious homemade paneer - loved reading about your encounter with the shopkeeper ;)
ReplyDeleteHey! Interesting way to start it and it flows away...great post
ReplyDeleteI love your pics, sweety! And you're such a pro, the shopkeeper should be asking you questions! :)
ReplyDeleteMy mom always makes paneer at home and has taught me to make it in my own home. We make it the same way as you and it looks almost identical to my mom's. Love your story. Moms are always telling you this guy or that is ripping you off. :)
ReplyDeleteI always make paneer at home...
ReplyDeleteBut trust me girl, you made it look so stylish and chic...
Lovely pics!!!!
I hardly make paneer at home from scratch. Have found a store which stores a brand from India so life is little easier :) But I agree, homemade is the best. Beautiful pictures my friend, specially the one with your home model
ReplyDeleteGreat share. I always wondered how to make a good paneer. Now I need to go to the kitchen and try it out.
ReplyDelete- kitchen units enthusiast
Amazing photos! Wow!
ReplyDeleteomg amazing
ReplyDeleteLovely pics..
ReplyDeleteI think ur recipe index needs some updating...I told a fren of mine to search for something on ur blog in the Index, but it was not there.
I hope u dont mind pointing it out, but consider me a fren who tells the other tht something is clinging on the tooth after lunch together.
@Garima Yes indeed :-) I have been really lagging in updating the index but you gave me the push to do it! Thanks
ReplyDeleteGah!!! I love it! Paneer is one of my must makes... but I have yet to do it. Maybe when I have more time on my hands I'll dive into this. You make it look so easy and your pictures certainly help :-)
ReplyDeleteLoving this! Gorrrgeous photos.
ReplyDeleteI have never tasted paneer but sounds good! Is it similar to hallomi cheese?
ReplyDeleteNot really its not salted as hallomi is and it has more of a crumble texture. It absorbs flavor very well so works great with spices.
DeleteWow! I didnt know that this was the name of the cheese my grandmother sister would make for our family when we visit her. She also add some salt on hers and her milk was straight out of the cow (which as a kid I thought it was so gross) then she would form it in an old tin tuna can. It was the best cheese I taste ever!
ReplyDeleteWow! I didnt know that this was the name of the cheese my grandmother sister would make for our family when we visit her. She also add some salt on hers and her milk was straight out of the cow (which as a kid I thought it was so gross) then she would form it in an old tin tuna can. It was the best cheese I taste ever!
ReplyDeleteVery interesting - wonderful photography!
ReplyDeleteI use the whey in soup. Its very nourishing. Also, For two variations on paneer I've toasted sesame seeds and cumin seeds and added them to the curd before pressing. Yummy!
ReplyDeleteTHANK YOU! I have been wanting to make some recipes with paneer, but as we live in Germany, out in the country, I haven't been able to find a store that carries it. This is going to be amazing!
ReplyDeleteahhh this looks so good..and I love all of the ingredients. I must try it. thank you for such a beautiful presentation. I want to become an old woman and settle down and learn all about cooking again..instead of trying to keep up with the insanity of going to work and managing so much..but then again...the modern world of today gave us web pages and blogs like this...so it is a "good thing".
ReplyDeleteGorgeous! Sent here for the recipe from 101 Cookbooks - can't wait to try this!
ReplyDeleteI just gor here from 101Cookbooks...I really want to try to make this cheese but I have no idea where I can find a cheesecloth...
ReplyDeleteMike you can certainly use a muslin cloth or thin cotton cloth instead. Let me know how it goes
DeleteThank you so much for your prompt response. I made it Saturday morning using a thin cotton cloth as per your suggestion and it was really incredibly good. The best Paneer I ever tasted.
DeleteI'm making it again today: YAY!
Thank you so much for sharing your recipe.
Peace
Mike
This comment has been removed by the author.
DeleteSo glad to hear that Mike! Thanks for trying.
DeleteYour pictures are some of the most beautiful I've seen. Thank you for sharing your technique and art. Quick question, *how* do you weigh down the paneer? Do you keep it in the cheesecloth while it's being weighed down? Do you leave it on the counter while it's being weighed down or do you put it in the fridge? When the process is finished, does it need to be stored in liquid (possibly the whey)?
ReplyDeleteTHANK YOU!!! :)
Thank you Courtney.
DeleteYes, you keep the cheese in the cheesecloth while weighing it down on the counter and no paneer is not stored in the whey. After its ready just put it in an airtight container. It stays for a week if stored properly but drys out as it sits so its best to use to fresh. Hope that helps :)
I've been admiring your blog for quite some time now and finally made paneer this week. It's d e l i c i o u s! And even my sourdough bread came out much better using the whey.
ReplyDeleteThanks for creating such a wonderful blog and sharing your culinary delights with us.
Best, zill.y
Thank you for taking the time to give your feedback :) I'm glad it worked for you!
DeleteI have never thought of trying to make paneer at home either! I am definitely going to make it now!! Thank you so much for sharing.
ReplyDeletePretty interesting photography! And great post too. I am making paneer first time and ended up on ur site :)
ReplyDeleteSounds delicious but I am on a low fat diet, can you use skim milk and make it fat free?
ReplyDeleteI'm pretty sure you can but I haven't personally tried it. If you try it please share the results.
DeleteMade this earlier today and had in "chilli paneer" for dinner, and turned out great. I was surprised how easy it was to make the paneer, and I think I'll be making it ever few weeks for different Indian dishes, now.
ReplyDeleteWonderful. Glad to get your feedback :)
DeleteIam pure vegetarian,when i go to restaurants i always have this Delicious Recipe.Thanks for posting :)
ReplyDeleteDoesn't your paneer get khatta with the lime juice?? In my grandmother's house (Punjabi) they add homemade curd to boiling milk to make the paneer and our Bengali cook at my parents home uses 2 tablespoons of vinegar for every 1 kilo of milk to make the paneer.
ReplyDeleteThe best so far has been the one made from curd. Its the softest paneer ive ever had, the vinegar one is similar, but the curd one just melts in your mouth - ideal for making pallak paneer. The vinegar one is ideal for making paneer bhurji.
Hi Gayatri,
DeleteNo the paneer doesn't get sour at all. After the whey separates the paneer is washed with cold water which gets rid of any citrus flavor and more importantly it stops the paneer from cooking any further (which can lead to rubbery paneer).
I do sometimes use yogurt instead of lemon juice but only when the yogurt is homemade and really sour. Otherwise I find using store bought yogurt to be temperamental. Texture wise though both turn out very well. Thank you for sharing you insights :)
than u very much for your clear instructions
ReplyDeleteI'm assuming that the curd Gayatri mentioned is yogurt. Is that correct? What about using Greek Yogurt? I understand that Greek Yogurt is very sour tasting. If you were to use yogurt instead of Lime or Lemon Juice, how much yogurt would you use per kilo of milk? I guess just as you used the lime juice, you would start with a tbsp and keep adding tbsps until the whey separates. I was glad to hear that washing the curds stops the cooking so that the curds are not rubbery. I love Saag Paneer and am so very happy to get the recipe and for the Paneer as well. I am going to bookmark your site so I can check it out further.
ReplyDeleteWhat do you use paneer for? Is it like a cream cheese? Can you use it like a cream cheese in recipes? Do you spread it on crackers or bread? I am not sure if I have ever eaten it before. Although I have had much Indian food, as my son-in-law is Pakistanian.
ReplyDeleteDeb - Paneer is not a spreadable cheese, it is soft but a solid cheese used mostly in cube form in Indian recipes. If you search for paneer on the blog you shall find a few recipes. Hope that helps!
DeleteHad been failing at my paneer attempts until I read your blog post...thanks for sharing...life is good now :) we stay far away from the frozen section in the Indian store now ;-)
ReplyDelete:-D So good to know!
DeleteI have made paneer earlier, Everything the way you made it. But it does not give me that spongy and firm texture and I could not succeed in being able to cut it into solid cubes. Can you help me to know the reason for this. Everything was good [ texture and taste] except the firm cubes as end product.please help
ReplyDeleteI could suggest you play around with the time and weights you put on the paneer to drain it. Too much draining, and you can end up with crumbly paneer and less would not have enough binding. I often see people leaving the paneer under weights for way too long! Hope that helps
DeleteHi there - could you post some recipes using the whey? I'm not sure what I can subsitute for whey and would love to make roti etc so as to not waste the liquid gold! :o) thanks in advance
ReplyDeleteHi there! Towards end of the post I have suggested some uses of the whey. But you can use it for soups and just about any bread making.
DeleteThank you for the great info. I used goat milk, at first it wasn't seperating, then I kept it at a low boil and it seperated. Some crumblyness can be from the curds staying too hot for too long.
ReplyDeleteThankyou that was just what i was looking for,perfect you made it sound so easy.
ReplyDeleteThanks for this. Can this be made with lowfat or fat free milk? Also, where can I find this cheesecloth? My first attempt didn't go too well, I still ate it though!
ReplyDeleteI must admit, your post is a work of art.I tried the receipe and my paneer looks axactly like the one in the pictures you posted. An effortless succsess!I had to adjust the amount of lemon juice, as you recommended to do. I found your guidance really helpful. Thanks a lot! MM
ReplyDeleteawesome site it is so simple to make paneer
ReplyDeletemodular kitchen chennai
modular kitchen in chennai
Hello, I know this is an old post, but I made your paneer recipe this past week and I wanted to let you know how well it turned out. Thank you for your lovely photos and delicious recipe.
ReplyDeleteSo glad it worked for you :) Would love to see the photos of your paneer.
DeleteThank you - this recipe was perfect! I tried it at my very first paneer attempt at home & had beautiful soft cubes in 1 hour.
ReplyDeleteI have some lovely pictures to share, but not sure how to upload them here.
So glad the recipe worked for you! Could you please send the photos to kulsum@journeykitchen.com ? Would love to share with the readers.
DeleteI had never tried Paneer. But was waiting for the illustration I think at correct time I landed on your blog.
ReplyDeleteCheese food
You make it so simple for me. Thanks
ReplyDeleteFresh Food Store India.
nice work
ReplyDeleteI tried your recipe (never made paneer before), and my curds didn't completely pull together into one solid piece. In other words, the paneer is crumbly, and got that way even before the pressing stage. Did I cook the milk too long after putting in the lemon juice? I used a bottle of Real Lemon (didn't squeeze lemons), and added 3.5 TBS, because I was worried the curds weren't forming. Too much lemon, maybe? Would I get better results with real lemons (as opposed to the bottled juice)? Could the milk have been on too high a boil?
ReplyDeleteI'll still use it in my mattar paneer (it tastes good, just looks odd), but won't serve it to anyone outside of my husband and me!
Thanks for any advice!
Hi there,
DeleteThanks for trying the recipe.
There could be couple of reasons why your paneer didn't come together. Before the pressing stage, the curdles do look all separated but when there is the right moisture and consistency, it should after pressing form a block.
Firstly, please don't use the lemon from a bottle. Whatever they add in there along with the juice will interrupt the process. Real lemon juice will curdle the milk faster and with lesser juice which is ideal.
Once the milk curdles make sure you take it off flame immediately and run it under cold water which will stop it from cooking any further. After curdling if it remains on heat, curdles become rubbery and hence wouldn't come together. For the same reason, make sure as mentioned in the post that your milk shouldn't be on a rolling boil.
Hope that helps and you give it another try :)
I just made my own paneer with skim milk. I used part of 1/2 of a Meyer Lemon to curdle it. It is delicious! and easy. A fun project for kids (with hands on adult supervision)
ReplyDeleteJust made it, can't wait to taste ... but I can't imagine having to throw away the left over milk ... what can you use it for? It would quite literally break my heart to throw it away. Great pics btw.
ReplyDeleteNevermind, just came to the conclusion that I didn't boil long enough ... now I have the really greenish tint ... doesn't look like milk anymore
DeleteKulsum!!! Thank you so much sweety!!! :)
ReplyDeleteHere's the paneer I made after following your recipe!!! Thank you so much!!! :)
Bhusha's India Travelogue
I'm so happy to know it worked for you :)
DeleteYou made this seem so simple. And the pictures are stunningly beautiful makes me want to make it right away, so that I can use it for saag paneer.
ReplyDeleteThank you for posting this recipe. One question though, I have used this method to make what I call "pot cheese." After pressing, it turns out fine, but when I try to fry it as for saag paneer, it just melts, and doesn't retain its cube shape. Why is this?
ReplyDeleteI heard somewhere that using pasteurized milk may be the problem. What kind of milk do you use?
I love this tutorial--the first I've seen that helps people understand hand-making cheese! Can't wait to integrate this for saag paneer!
ReplyDeleteDo you (or anyone else here) know if it would work equally well with sheep or goat milk? I don't digest cow milk very well, particularly in the States, so I'd appreciate your thoughts!
Hi Alicia - I have never tried another milk so I can't be sure but I would think it should work. My only concern would be if it stays intact. I have a feeling it might be more crumbly.
DeleteCan this recipe be made with goat milk for those of us who cannot digest cow milk? Further, do you recommend the use of whole milk rather than lower fat varieties?
ReplyDeleteThank you for sharing this technique...it emboldens one to attempt it. I would just like to try it with the goat milk...I think the flavor would be wonderful.
--- Elizabeth
I think that goat cheese wouldn't set like cow's milk and will be quite soft but that's not necessarily a bad thing!
Deletedsadsa
Deletevery well explained.i try this technique with fresh milkfor home made paneer.
ReplyDeleteThanks, Nicely explaind. I added little salt that added the taste. Thanks again.
ReplyDeleteThanks for this....just want to know whether we can use greek yoghurt for paneer..its quite soft, so can we put weight on it? or the milk has to be curdled with lemon? when we wash the curdles to get rid of lemony taste, wont it just flow off with the water? many thanks Naina
ReplyDeleteI used your recipe last night to make paneer for the first time, and it worked out perfectly! Thanks so much for the detailed instructions :)
ReplyDeleteI just made this with a gallon of skim milk and a quarter cup white vinegar. It turned out perfectly. I'm guessing I got a pound of cheese.
ReplyDeleteشركة مكافحة حشرات بالاحساء
ReplyDeleteHi Kulsum, thank you for posting this recipe. I first made paneer following your recipe last year and have since made it many times over. It works so well and I truly enjoy the process of making the cheese and obv. having home made paneer, it beats the store bought one without a doubt. Thank you!
ReplyDeleteThis is beautiful, beautiful, so simple food, so thank you thank you very very much much.
ReplyDelete